User Guide
Loggin in
1. The platform Account ID (contact a project manager if you do not have this information).
2. Your User ID and your Password.
3. Finally, click on
 to reach the home page of your workspace.
Accepting or Declining Jobs
In order to accept or decline a standard job, you must first log into your Wordcraft workspace and view the job proposal.
View the Job Proposal
For a standard job, the job proposal may be viewed in three different ways:
1) Email Notification
You have received an email notification to inform you of a job opening. Click on the link to access the job.

Accept or Decline the Job
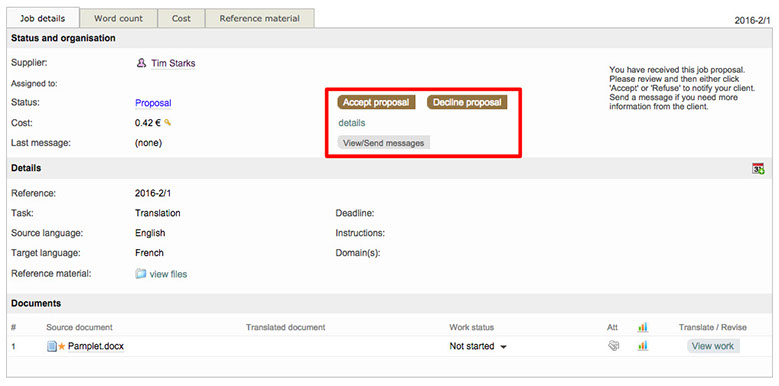
On the Job Details page, click on Accept or Decline Proposal. This page contains all the information you need for the project including the name, deadline, instructions, source and target languages, etc. You may also view or send messages regarding the job from the Job Details page.
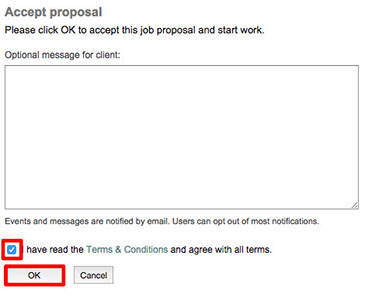
If you click on Accept Proposal, you will see the pop-up shown below. Here you are able to provide an optional message to the client. In order to accept the proposal, the following must be completed:
- The Terms and Conditions checkbox may appear (according to the Administrator's choice). If it is the case, don't forget to tick it.
- Click on OK when you are finished.
Change the Status of the Job
Once the job proposal has been accepted, the status of the job will automatically be set to "In Progress".

In the Documents section, you can see a list of the different documents that are part of the project.
Whenever you want to start the translation/revision of one of the documents, click on the arrow next to Not started and select Set to: In Progress in the drop-down menu.

If you finished your translation and did the QA please set the job status to "Completed".
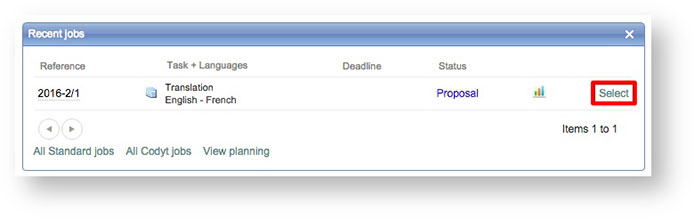
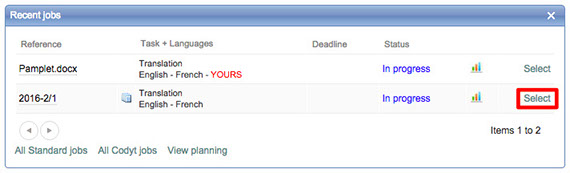
2)Recent Jobs Panel
- From the Recent jobs panel of the Home page.
- Click on Select to have access to the Job details page.
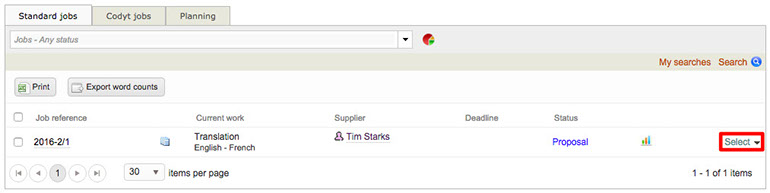
3) Menu Bar
- In the Menu Bar, click on Jobs to reach the Standard Jobs page (screenshot below).
- Click on Select to reach the Job Details page
Starting a Job
In order to perform work for a job, the document must be opened in the CAT editor.
This page will show you how to access the CAT editor and perform work.
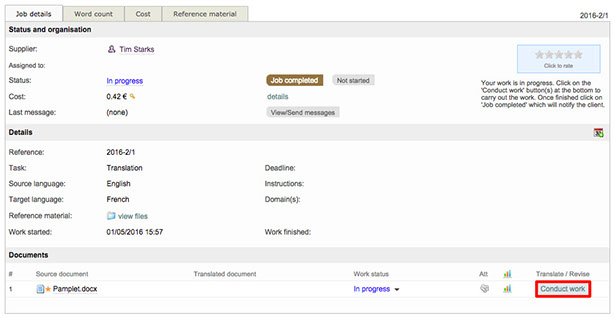
First, access the Job Details page for the job by:
1. Clicking on Select to the right of the job in the Recent Jobs Panel.
2. Clicking on Jobs in the Menu Bar and Select for the appropriate job.

Then click on Conduct work to open the CAT Editor:
Completing a Job
When a job has been completed, you will need to change it's status in the system.
After the job has been finished it will need to be set to "Completed". To do so, set the work to completed in the translation editor from the status bar by clicking on the Down Arrow next to the current status
and then clicking on Set to: Completed:

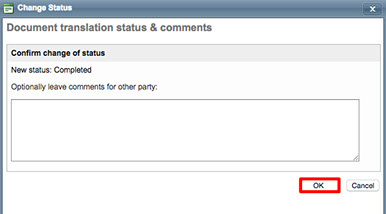
A pop-up window will appear where you may enter a message for other individuals working on the project or the job. Click on OK to complete the status change for the job.
After clicking on OK, the status will be updated and show "Completed" in the status bar of the translation editor.

On the Job Details page, you can see that the work status of the document (Documents Section) has been changed to Completed.
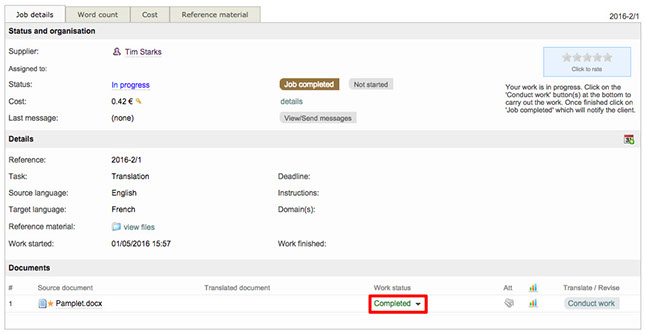
To set the entire job to Completed (there can be several documents in one Job), click on Job completed in the Status and organisation section.

Be certain all jobs have been completed before clicking on the Job completed option!