User Guide
Discovering the CAT Editor
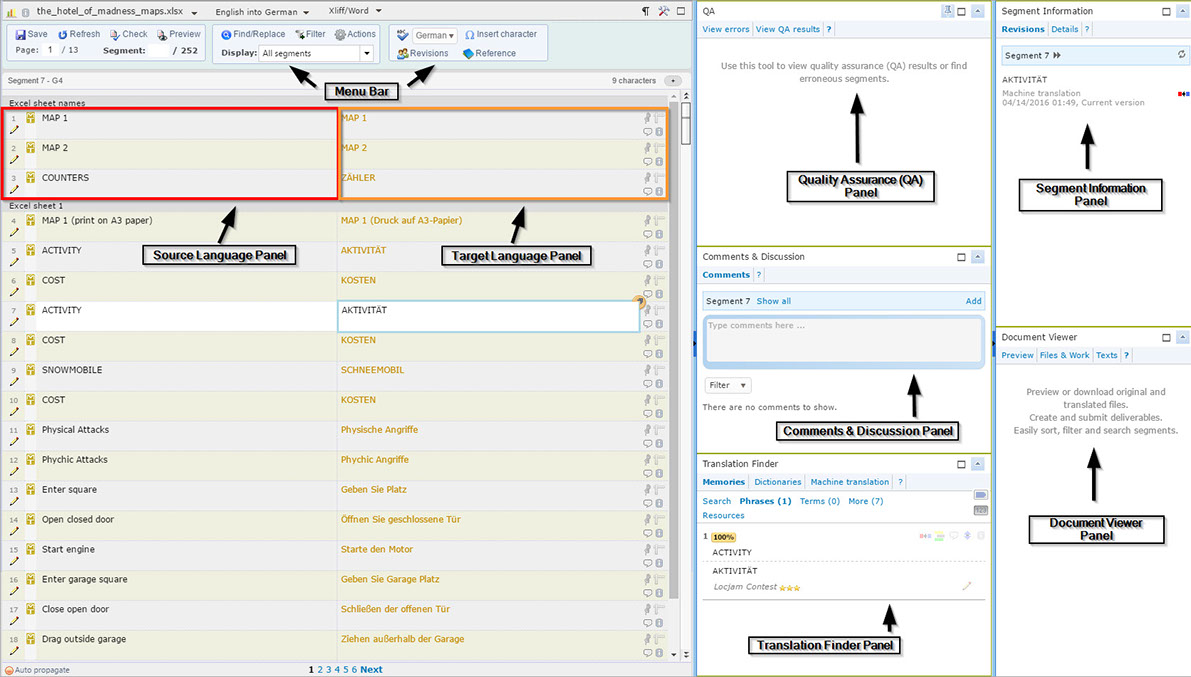
In this part, we are going to present you with the different panels and functionalities that compose the translation interface, which makes it easier for you (translator, reviser or proofreader) to do your job in an easy and rapid way.
The following pages have been provided to help you become familiar with the CAT Editor:
- Source Language Panel
- Target Language Panel
- Menu Bar
- Translation Finder Panel
- Comments & Discussion Panel
- Document Viewer Panel
- Segment Information Panel
- Quality Assurance (QA) Panel
To access the CAT Editor, you will need to view the Job Details page for the desired job (Jobs > Select) and then click on Conduct Work (more information on how to get there here). It will appear as shown below:
Source Language Panel
The Source Language Panel is the panel that shows the original segments provided by the client. For example, in the image below the source text has been pre-translated by machine as noted by the MT icon and different colored target language text.

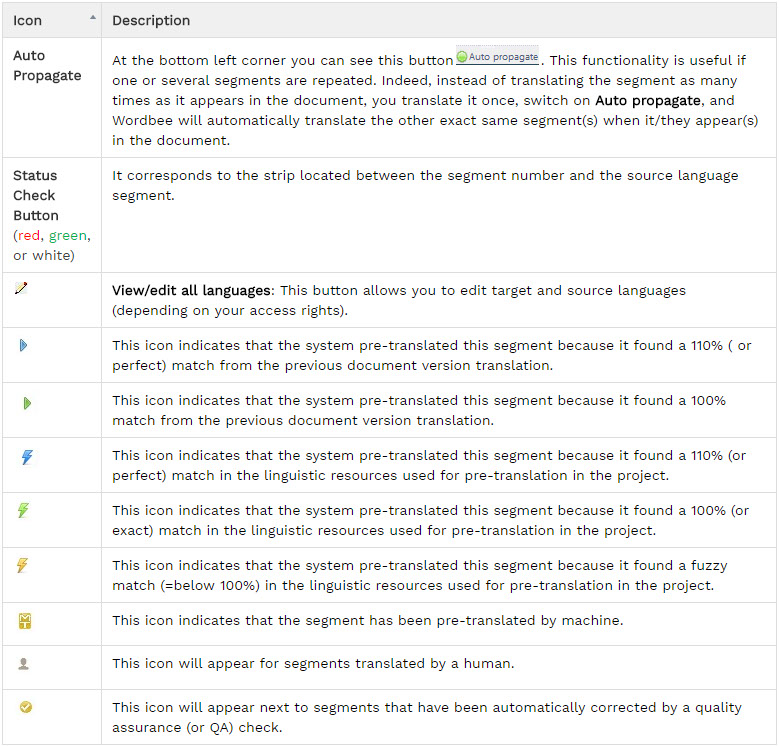
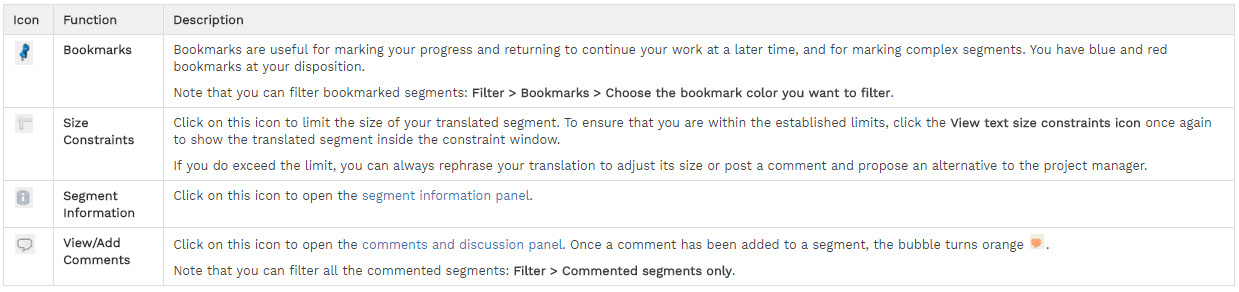
On the left side of the panel you find the segment number and (depending on your job) some icons, which have been described below:
Target Language Panel
The Target Language Panel is where the translation is performed. When opening the CAT editor, you may see segments that were already translated. This is the case when linguistic resources (translation memories,…) were used for pre-translation.
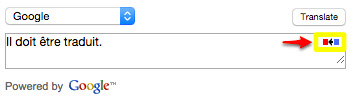
When you start translating a segment, you will see a half yellow circle at the upper right corner of the text box.

Click on it to select from the options shown below. These options only apply to the selected segment:
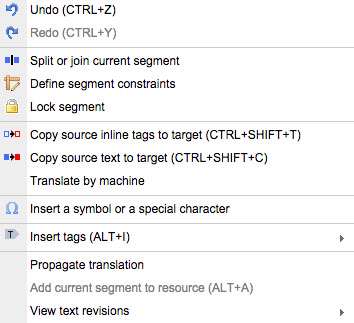
Note that Perfect pre-translations will appear in blue, Exact pre-translations in green and Fuzzy pre-translations in red.
Icons present on the right side of the target language panel:

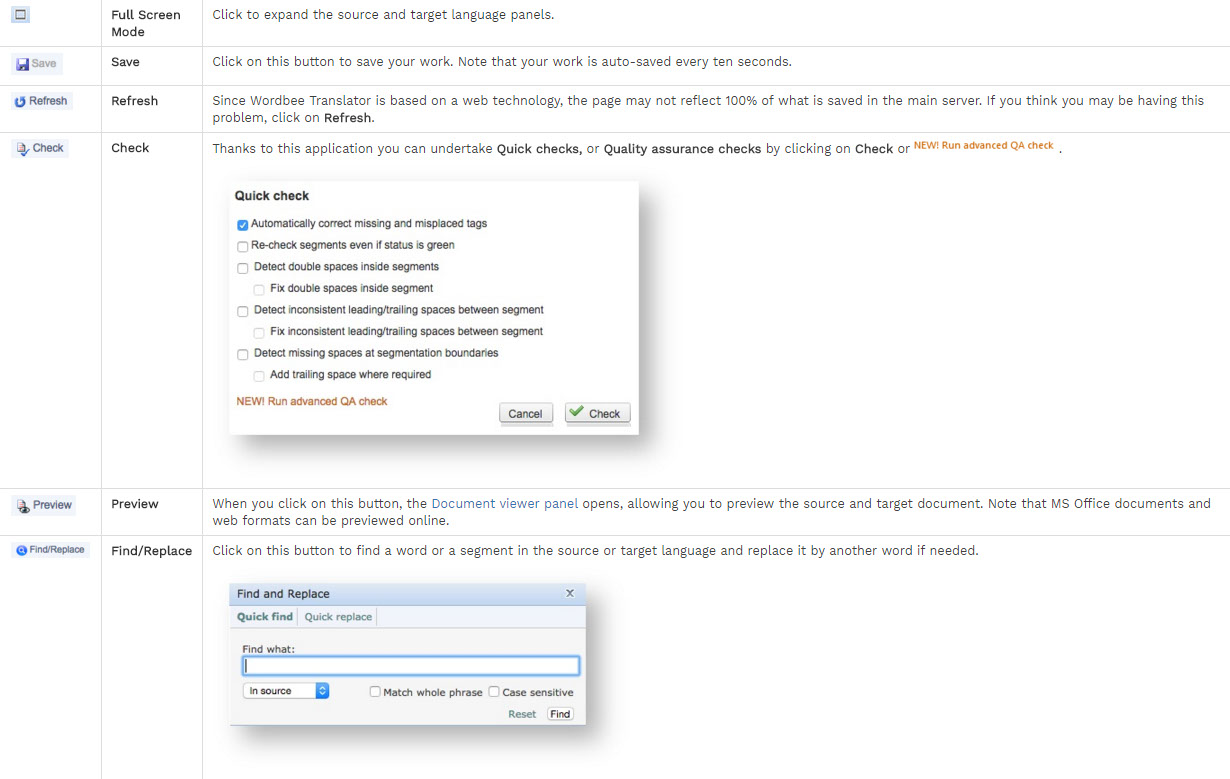
Menu Bar
The Menu Bar provides several options for managing the document currently being worked on in the CAT Editor. It appears at the top of the translation editor:

Please make sure you have the Spell Checker turned on while you're translating!
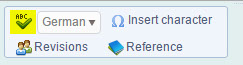
Click the ABC symbol highlighted in yellow.
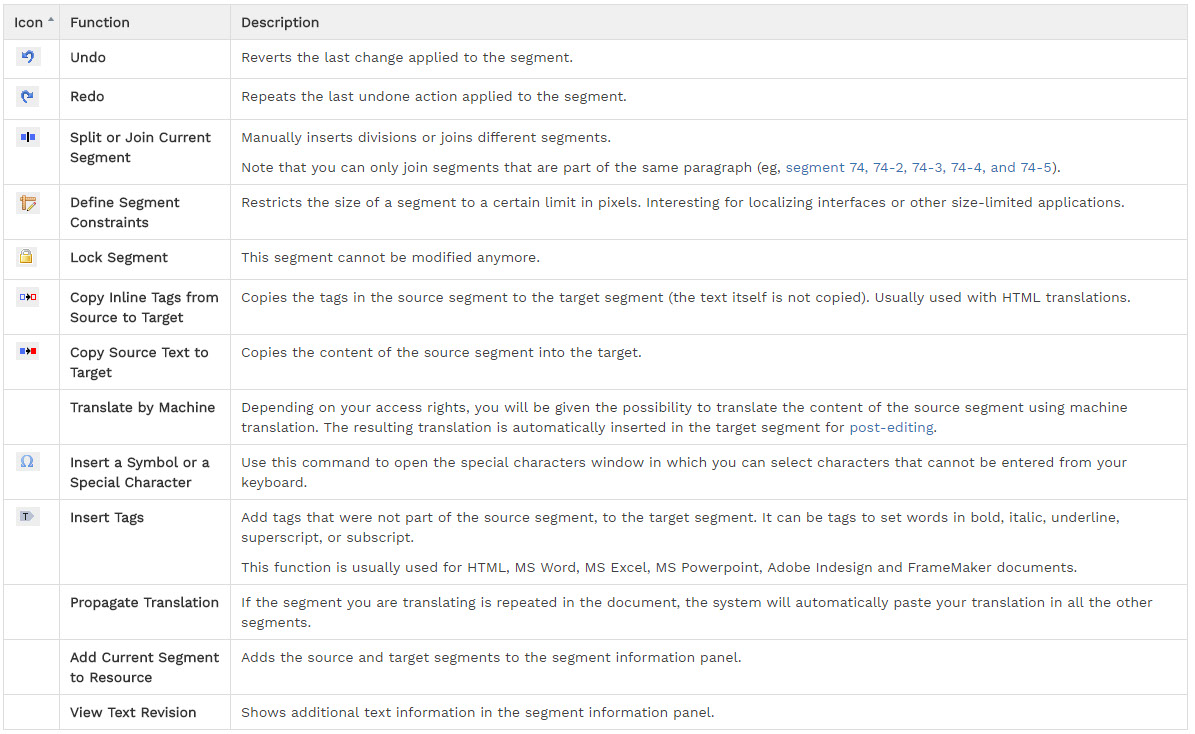
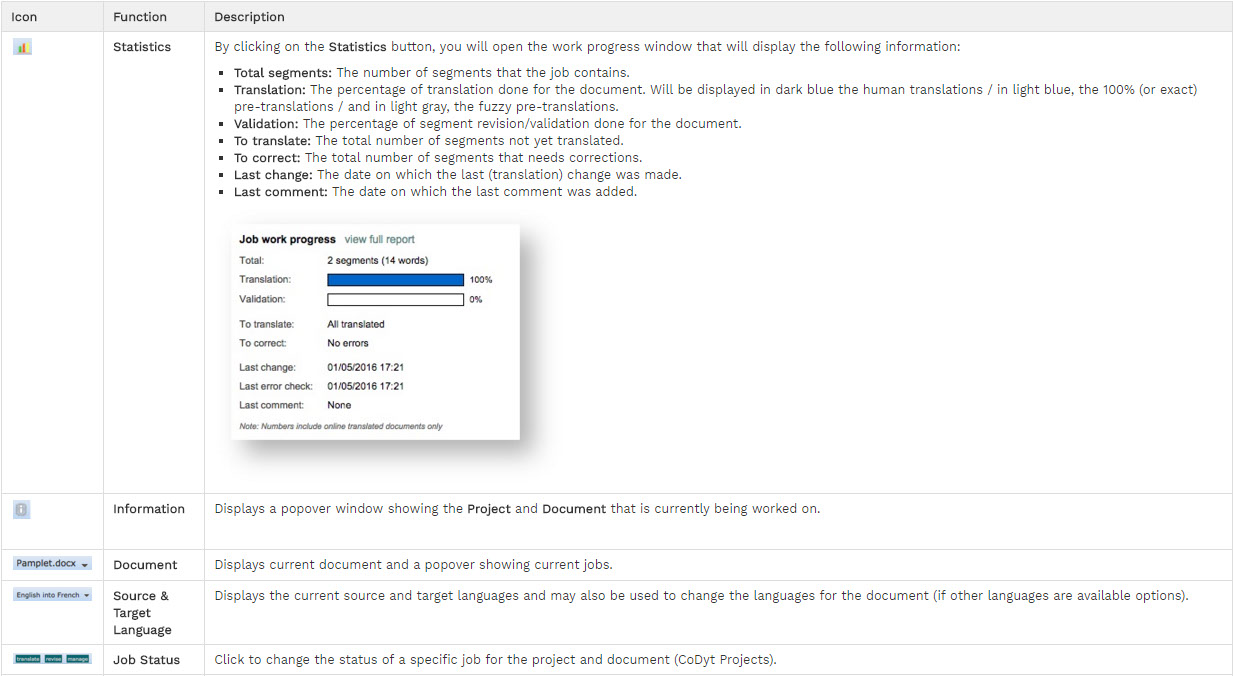
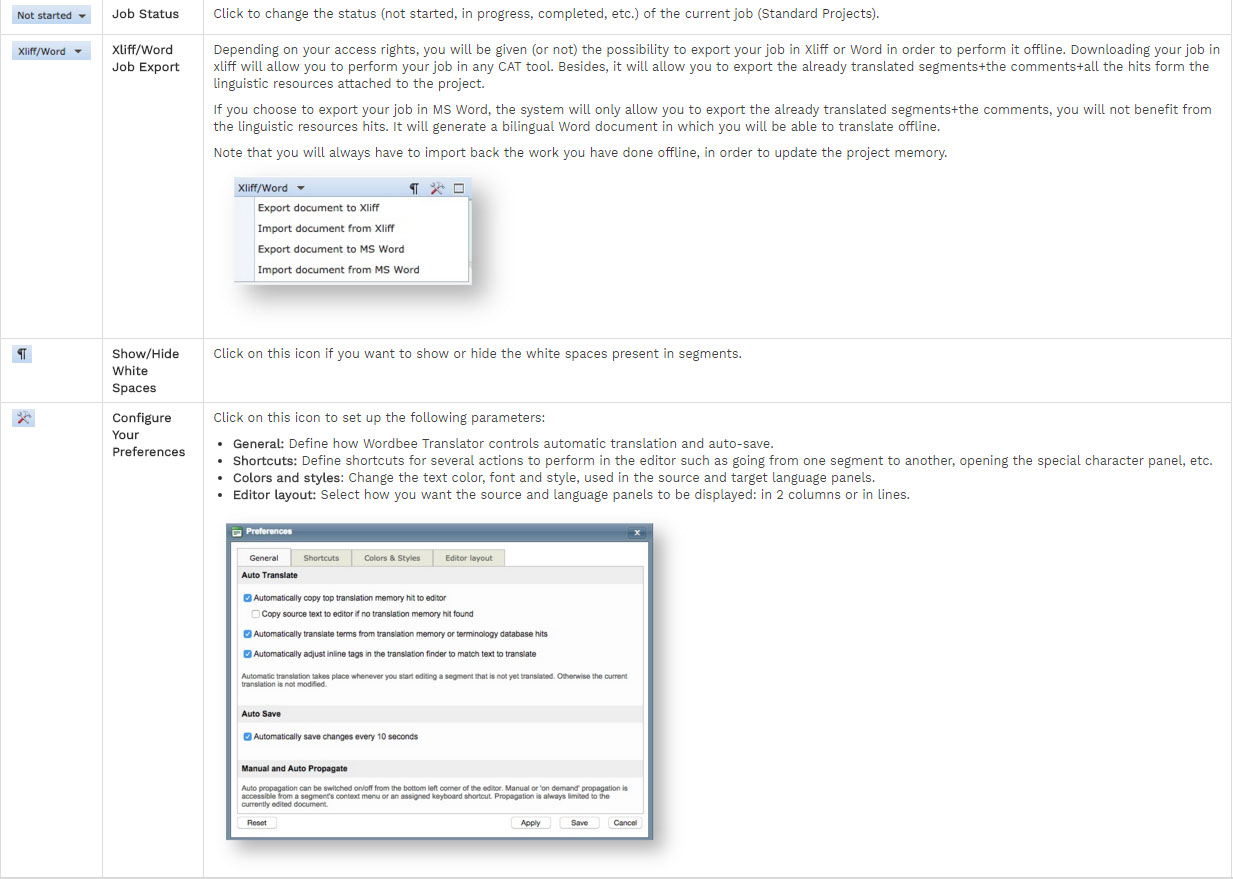
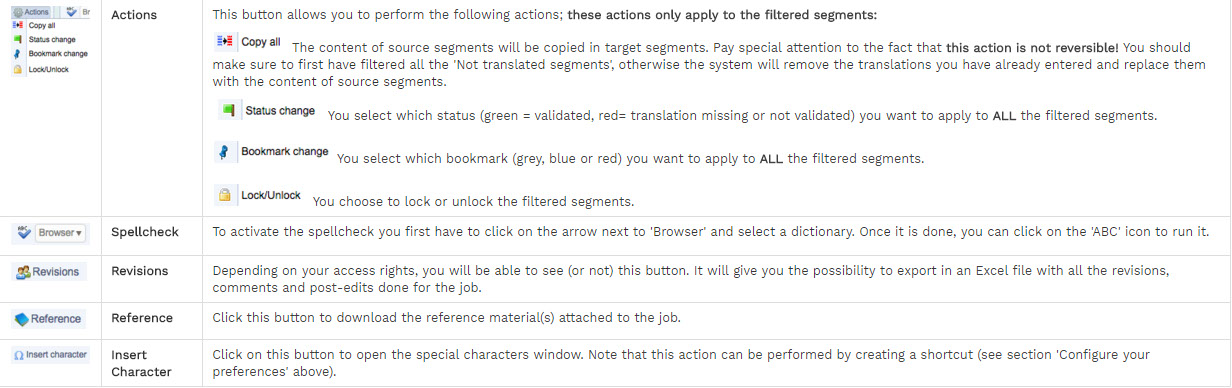
The following table has been provided to help you become familiar with the options provided in the menu bar:

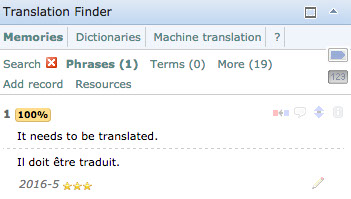
Translation Finder Panel
Thanks to this panel you are able to see all the different hits and their percentage of reliability from the linguistic resources attached to the project, for a given segment.
If you need to, you can search for terms or phrases in the linguistic resources by entering the term or phrase and then clicking on Search under the Memories section:
If there are no results for your search, you always have the possibility to run the search in installed dictionaries. To do so, just click on Dictionaries and run your search again.
Depending on your access rights, you will be able (or not) to see a third section in the panel named Machine translation. This will allow you to machine translate segments for which you do not understand the context.
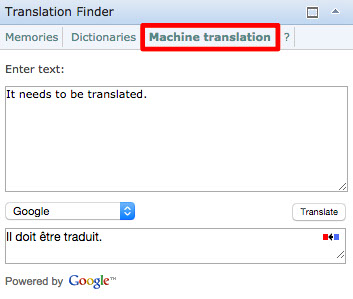
The machine translation result can be pasted in the target segment by clicking on the highlighted icon:
Once the translation pasted, you can edit it in the target segment.
Comments & Discussion Panel
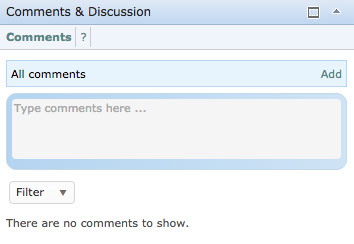
This panel allows you to make comments and exchange messages with the project manager, reviewer, etc. with regard to the document, or a segment in particular. If no comments have currently been entered, it will appear as shown below:
The following sections have been provided to help you become familiar with the Comments & Discussion Panel:
- Entering Comments
- Setting Email Notifications
- Changing Comment Categories
- Additional Actions
Entering Comments
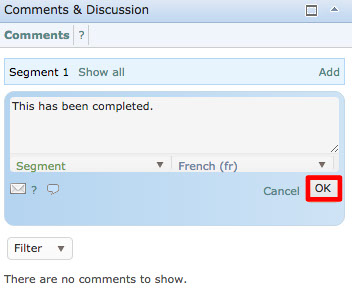
You may type a comment for a particular segment in the Source or Target Language Panel by clicking on it to select it and then clicking on OK. If no segment has been selected, then the comment will apply to the document as a whole.
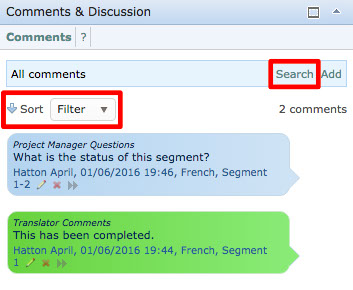
Once the comment has been added, the panel will appear as shown below. If you click on a segment that has comments, only the comments for that segment will be displayed in the Comments & Discussion Panel.
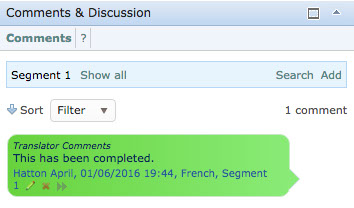
Note that the color category for the comment will depend on what category has been selected when adding or editing the comment in this panel. (See below)
As comments are added for different categories, segments, etc. you will be able to search for a specific comment, sort the comments, and set filter options to locate specific comments.
Setting Email Notifications
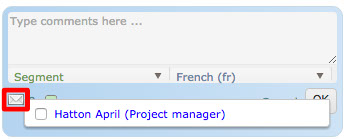
Click on the Email Notification Icon to select individuals for sending important comments to the chosen parties. Tick the checkbox next to each name to make or remove a selection.
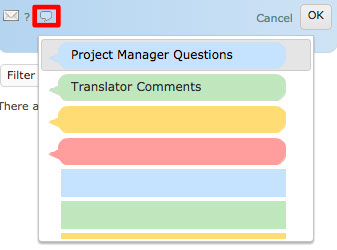
Changing Comment Categories
Click on the Category Icon to change the current category for the comment. Each category will have a specifically defined color as set up by the Administrator or anyone with the appropriate permissions.
Additional Actions
To make changes to a comment, click on the Pencil Icon in the displayed comment within the Comments & Discussion Panel. A comment can be removed by clicking on the X within the comment.
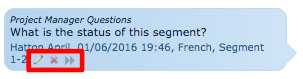
You can also sort, search and filter comments by clicking on the correspondent icons (Sort, Search and Filter).
Document Viewer Panel
The Document Viewer Panel is used to preview both the original and translated document.
To do so, click on Preview and then click on Source or Translation:
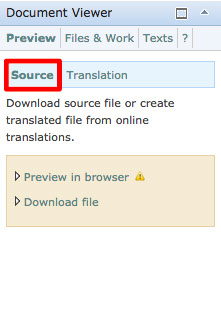
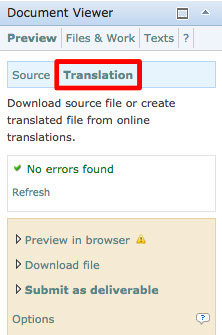
Note that you will be able to preview MS Office and Indesign files (depending on your access rights), and web files immediately in your browser. For all other file formats you will have to download a preview file.
Segment Information Panel
The Segment Information Panel provides important information about the active segment. The panel contains three tabs:
- Revisions: From this tab, you can follow all translations/revisions carried out by all users taking part in the job

- Details: In this tab you can find a summary of the current segment and the document itself:
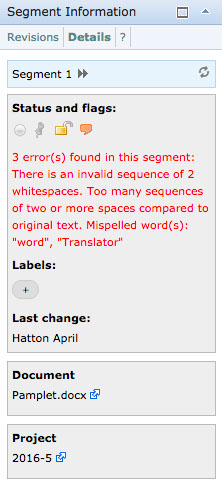
- Databases: In this tab you can find a summary of the linguistic resources of the project.
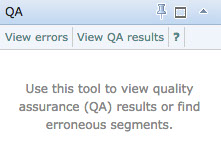
Quality Assurance (QA) Panel
The Quality Assurance (QA) Panel allows you to run quality assurance (QA) checks and see related results.
Note that you must use the QA Tool before setting the Job Status to complete!
The following sections explain how to use the QA Panel:
- Running a QA Check
- Viewing Error Details
- Making Corrections
Running a QA Check
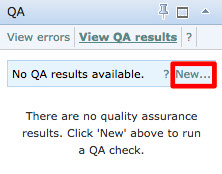
To run a QA check from the panel, first, click on View QA Results and then New...
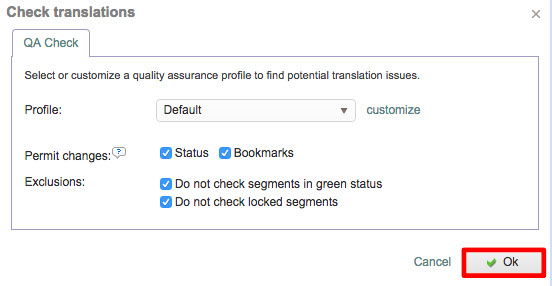
A pop-up window will appear and displays the QA profile that the project manager has created. You can select a different profile (if permitted) by clicking on the Profile Menu. Otherwise, you just have to click 'OK' to run the QA.
Viewing Error Details
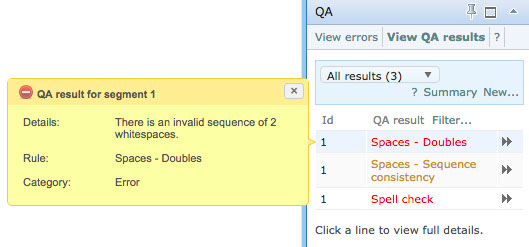
Once you have successfully run the QA check, you will be able to see additional details about each error in the QA Results. You will see all the different error types listed. For more information regarding an error, just click on it and a bubble will appear with explanations.
Making Corrections
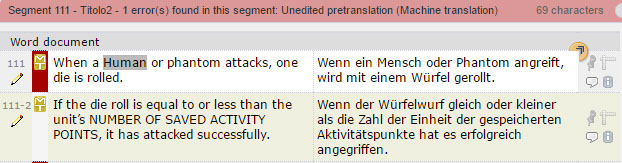
To immediately enter a segment that needs corrections, click on the double arrow next to each error in the list.

Depending on the QA profile created, errors will be flagged in the editor with red bookmarks or red status.
Once an error corrected, you just have to remove the red bookmark or the red status in the editor. To do so, click on the status or bookmark for the segment. The process is the same if you want to ignore a QA error.